How to Check Welding Quality: Essential Techniques for Every Welder

Learning how to check welding quality is crucial for ensuring strong and safe welds. This guide will provide you with detailed, step-by-step instructions to evaluate welding quality accurately.
Being an integral part of many constructions and fabrication processes, welding is a highly specialized and attention-demanding discipline that requires expertise, skill, training, and your full attention and devotion.
Any error that might occur during the welding process can cause severe damage to the materials, which will further result in them losing their durability and strength. Furthermore, this may evolve into structural failures that no one wants to see.
That’s why checking the welding quality is of utmost importance. In this article, we will further discuss and dive deeper into the subject of welding testing and the measures, precautions, and testing you can implement and run to ensure the satisfactory performance of the wielded structure and your products.
What Requirements/Quality Should The Welding Product Meet?
We say that the welding quality is good if it suffices the following requirements:
- The product meets the required design dimensions, has almost no distortion, and is finished accurately, with its appearance satisfying the required level.
- The product meets the required functionality and possesses strength/safety.
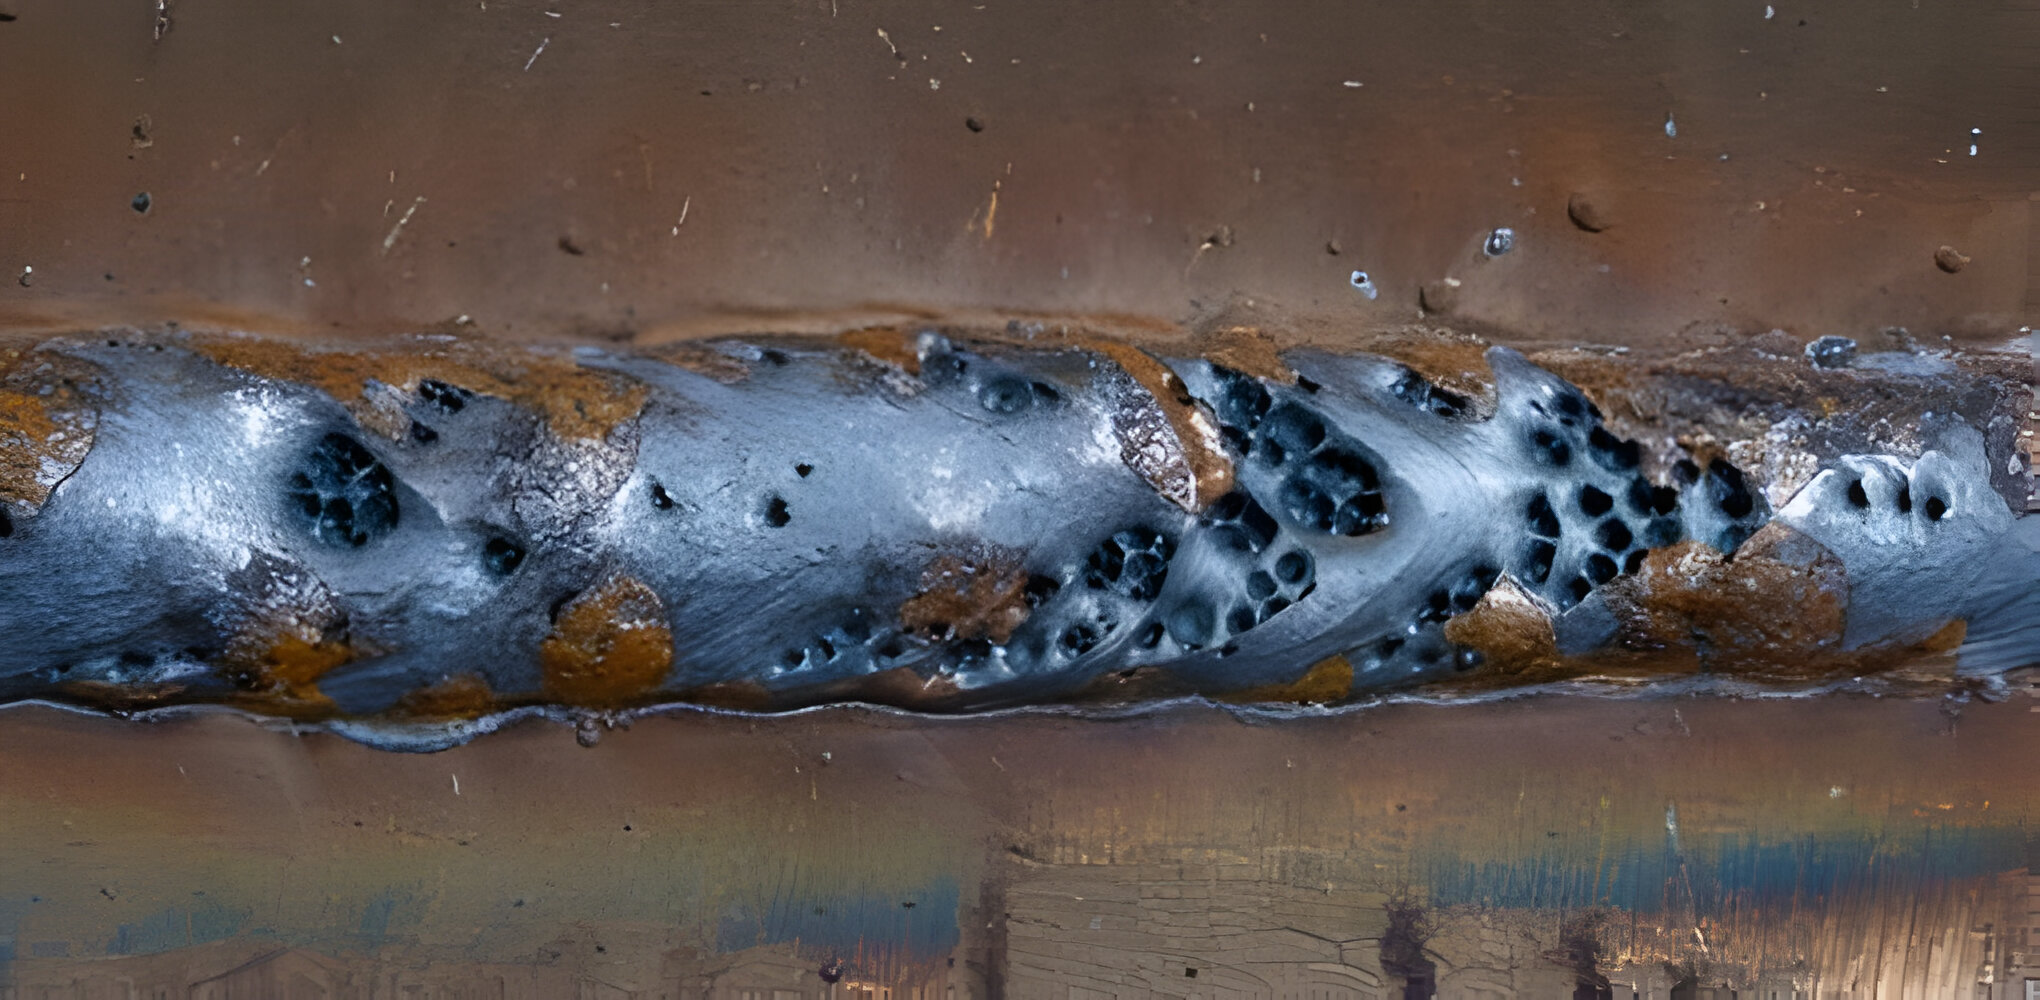
- There are no visible irregularities such as cracks, or porous holes (porosity) on the surface or in the bead.
- There is an equal distribution of weld material between the two materials that were joined.
- The weld is cleaned thoroughly; we know this is the case when it is waste-free and there are no visible waste materials like slag on it.
- The joint is tight; as a matter of fact, in welding in general, gaps typically are indicators of potential quality problems.
- If the welded product will be expected to contain liquid, then the obvious requirement is for it to be leak-proof. This can easily be tested with soap bubbles that were introduced with a squirt bottle.
How Do You Check Welding Quality?
Once the welding process is completed, it is time for weld quality assurance; during this process, various technological methods and actions are used in order to test and assure the quality of welds as well as confirm the presence, location, and coverage of welds.
Some of the most common welding faults that may occur are incomplete penetration, slag inclusions, porosity, undercutting, and lack of fusion. Consult a well-skilled professional regarding the testing processes and interpretations. These are some inspection methods you can use to check the welding quality:
NDT – Nondestructive Testing
NDT refers to nondestructive testing; these methods are not intrusive and are used to test the weld without causing any damage to it. NDT is the most commonly used method since they are practical, saves money and time, and of course, doesn’t cause any damages. These are some of the most common, worth-mentioning NDT methods you can use to test the welding quality:
1. Visual Inspection
As the name suggests, visual inspection is examining the weld with the eye to check for any surface discontinuities.
Why it is used?
This method is used because it is relatively inexpensive (you are just paying for the professional you hire), the equipment is a low cost, and doesn’t require any power. Some pieces of equipment required to conduct visual weld quality testing are tape measure, calipers, protective lenses with the pocket viewer and shade lens, Tempelstick, pyrometer (or similar temperature devices), flashlight, magnifying glass, chisel, weld handheld fillet gauge, magnet, etc. That being said, it is important and necessary that the person doing the visual inspection has good eyesight and has done proper inspector training. They also need to record the process and provide a report. The disadvantage of this method is that it is open to human error, and sometimes, some internal defects can be missed.
How do you conduct this testing?
We recommend that visual inspection is done not only after the welding process is done, but also before the welding ad on the materials. Before welding, you would want to make sure that the materials are matching the specification for base metal size and type, check them for any defects and contaminants such as rust, lamination, and similar, and determine whether they are prepared for correct angles.
Ensure that the procedure is aligned with your local codes and the weld specification and before the welding starts go once more over the drawings, welding position, and their correspondence to the specification, check the fillet welding symbols, and observe the vertical direction of travel.
Make certain that the equipment you use in the welding process is adequate, doesn’t show any signs of damage and the amperage meter for range corresponds with the specification. After the welding process, you need to check the weld and see if it is according to the standards and code, whether it is the right size and corresponding to the prints. Look if any overlap or cracks are against the standards and check the undercut, finish, and contour.
2. Ultrasonic Testing
Ultrasonic testing, or simply UT, is another NDT method used to characterize the thickness of the internal structure of a welded piece. Additionally, it is used because it allows you to determine the exact position of a discontinuity in your weld product. It requires a professional, high level of operator training and competence; the testing further requires the usage of specific equipment. Ultrasonic testing can be done on ferrous and nonferrous materials and is performed by using high-frequency sound waves; these frequencies or pitch commonly are in the range from 500kHz to 2 MHz and are significantly higher than the limit of human hearing.
Why it is used?
This test is used because it is reliable and can be repeated. Moreover, it has no potential health hazards, is completely non-destructive, and doesn’t require cutting, sectioning, or exposing the product to any potentially damaging chemicals or procedures. It does require a trained operator to set up and run the tests according to the appropriate standards; later on, the trained operator will also properly interpret the procured results.
How do you conduct this testing?
There are 5 fundamental methods of ultrasonic testing which are commonly practiced in the industry; the following methods differ mainly in the way of registration and evaluation of the data:
- Shadow method
- Mirror-shadow method
- Tandem or also known as the echo-mirror method
- Echo method
- Data method
The ultrasonic testing is expected to meet the standards and requirements of the International Organization for Standardization (ISO) and the European Committee for Standardization (CEN).
3. X-rays Testing
X-ray testing or also known as gamma-ray or radiographic testing is another NDT method that is used in weld testing. This testing requires bulky, heavy equipment which is time-consuming, and expensive and needs to be done in a controlled area under strict regulations and following the strict regulations for safety. It is mandatory that only qualified personnel conduct the radiographic interpretation because false interpretation may be misleading, interfere significantly with productivity, and is quite expensive (which makes it difficult and expensive to retest).
Why it is used?
This method enables volumetric inspection of the weld and is used to gain access to both sides of the welded joint and check for any mistakes or irregularities/damages/flaws on the surface and subsurface. Its records are permanent, and overall, it is a good method to check quality. However, it is not suitable for certain configurations. While this method is effective in detecting inclusions, porosity, cracks, and voids in the interior of welds, it is a slow and expensive one and it requires obvious safety considerations when being performed because it can cause serious health issues. It requires meeting the standards of ASTM International, ASME, API, ISO, and CEN.
How do you conduct the testing?
This inspection is done using X-rays that are produced by an x-ray tube or gamma rays, which are produced by a radioactive isotope. Its basic principle of examination is the same used in medical radiography: the penetrating radiation is passed through the weld onto a photographic film, further resulting in an image of the weld’s internal structure being deposited on the film. The permanent film record of the weld that is produced through x-ray testing is interpreted by a trained professional who also conducts the testing.
Final Words
Depending on the situation, the welding being tested as well as its usage, different or in some cases multiple testing will be required to be performed. Here, we have only discussed some of the non-destructive methods used for weld testing; however, there are other methods you can use to test the welding that requires samples and can partially destroy the welding.
The once we mentioned above evaluate the weld without causing damage to it, and therefore they are used in most of the situations, with the visual inspection being the first testing method being implemented. We recommend that you always consult and have professionals who are trained, skilled, and experienced in testing conduct the testing and interpret the results. For more valuable information about welding stay connect with us on welderit.com.
