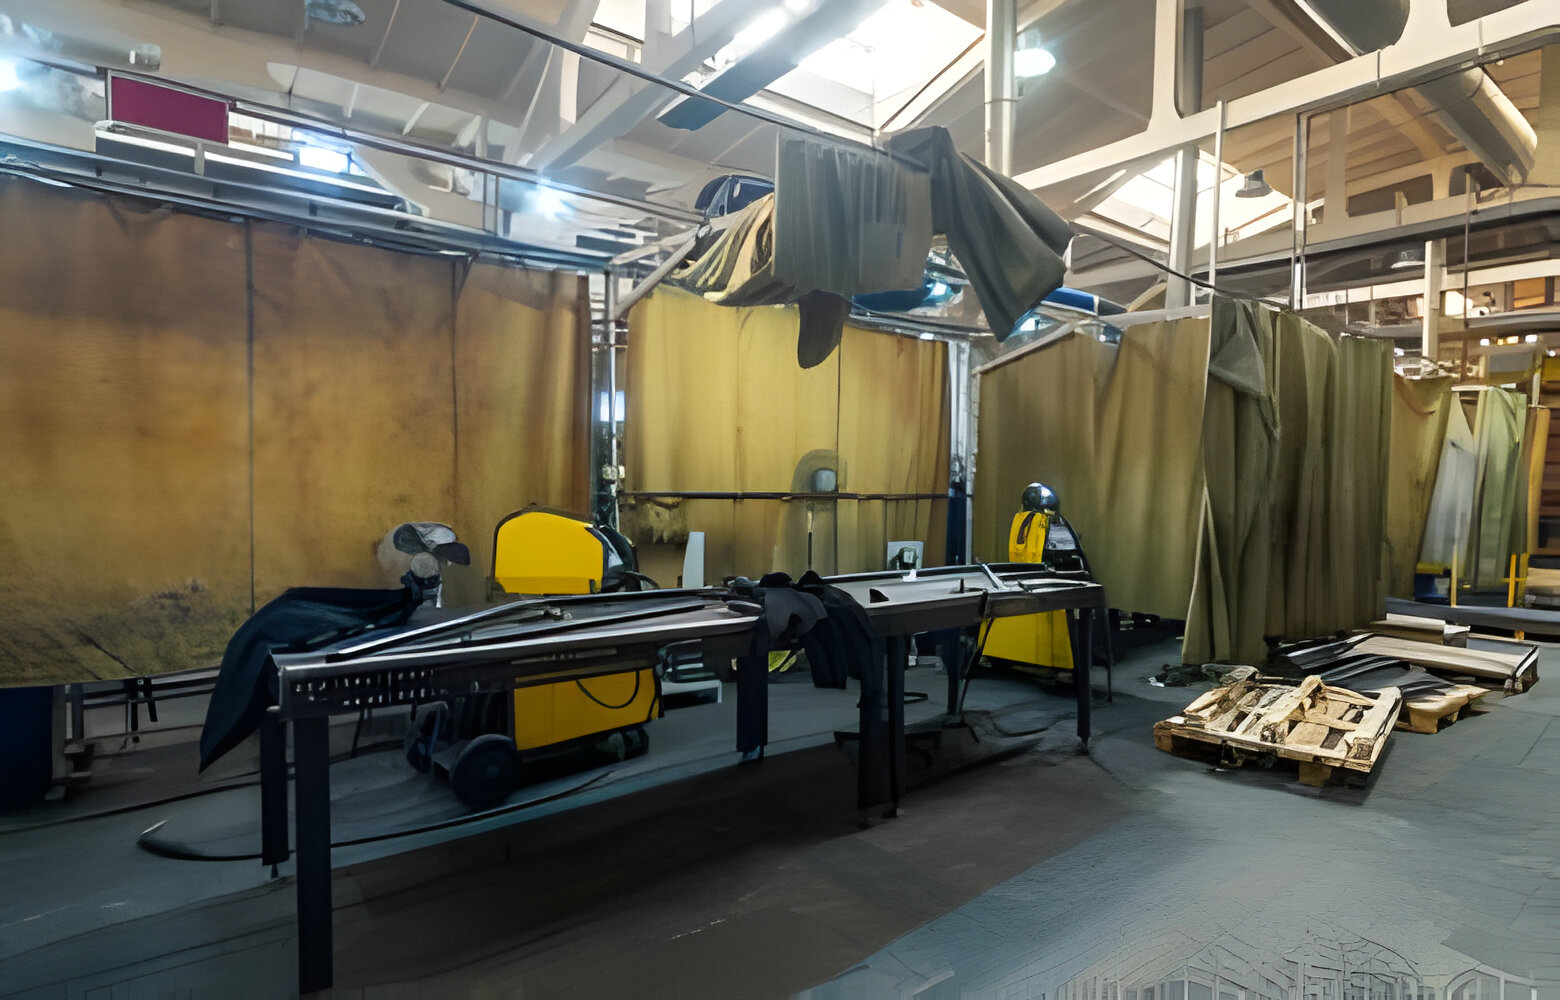
How To Build A Welding Table – Let’s Do It

Welding is interesting for many people. Even though it appears complicated they want to learn how to perform the process and build and fix objects at their homes.
This is where a welding table enters the picture. Aside from representing a space where people can build their welding products, it’s a welding product by itself since it enables them to learn a few tactics while making it.
Yes, it’s possible for everyone to build a welding table for them in their garage. They should only know exactly what they need, which steps to follow and certain tips to get them going. Are you ready to discover all of this? Then, read on!
What You Need
Building your welding table is a real pleasure and satisfaction for an individual who practices welding and is experienced at it.
To do that, they will need a welding machine or a welder, to begin with. Then, a plasma cutter or a metal that’s saw-expanding.
Depending on your preferences regarding the material, you can use steel or iron or other metals for creating the best welding table. So, connected to that you may need a metal plate, a round tube, caster, nuts that can fit a caster, and more.
When it comes to the equipment, an angle grinder with special discs, C clamps, a chop saw, professional magnets and similar can come in pretty handy for this operation.
Last, but not least, it’s very important not to forget your safety welding accessories. By that, we mean that a person who wants to weld a welding table should put on a helmet or glasses. Furthermore, welding clothes like an apron or a coat as well as gloves and footwear are a necessity as the whole procedure can be pretty dangerous.
Steps To Follow
Firstly, the one that builds the table should be very careful and do things in a simple manner. They should pick a spot that is sufficiently spacious for the welder to move around and to assemble all parts.
The whole process comes down to the following steps:
- Gathering the needed pieces and equipment in one place
- Cutting the pieces until they have the right size for the table – This is, of course, subjective as people prefer different sizes of the table. In general, for this step, it’s recommended to clean the materials before cutting for increased precision.
- Welding and connecting the parts of the top section
- Connecting the parts for the back of the table followed by the right and left side
- Once the frame is completed, welding the legs onto the frame
- Finally, welding the steel plates onto the finished table frame
After this, the table would be done leaving the welder with fabricating to handle next.
Let’s Wrap Up!
Building a welding table from scratch sounds pretty scary and represents a challenge. However, if you practice welding and you have some experience with welding, you shouldn’t worry. All it takes is a bit of practicing beforehand and doing some thorough research to make sure that the mistakes are minimized.
Have you welded a table before or simply plan to? What’s your experience regarding this procedure – was it difficult or hard? We’d like to hear your take on the matter!
